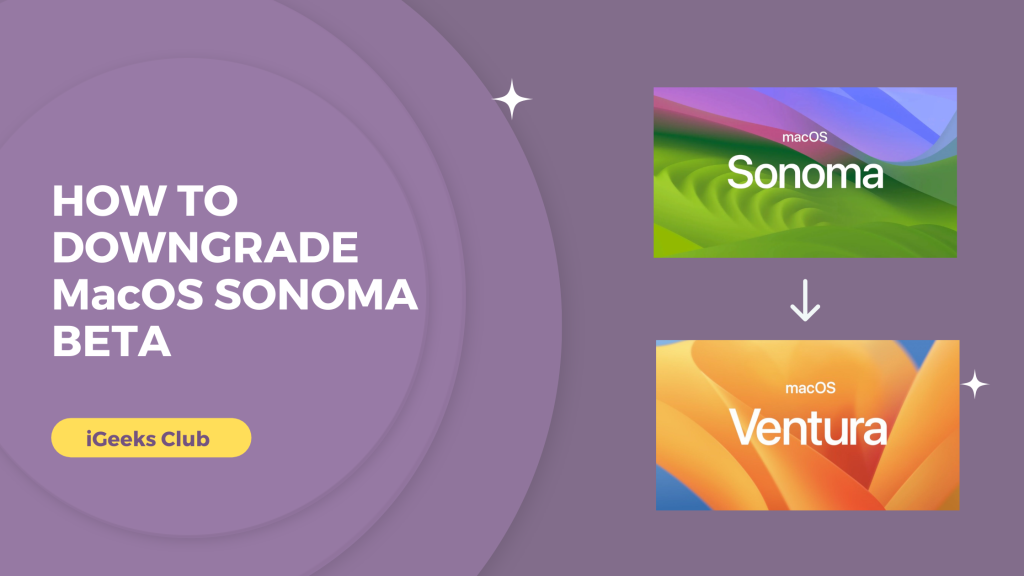
Apple released the beta version on macOS Sonoma at the WWDC 2023 event. Being the beta version, many features feel unfinished to the end user. However, it is still exciting to try out the new version of macOS. In this article, you will learn how to downgrade from macOS Sonoma Beta to the stable version of macOS Ventura.

After upgrading, you can also run into problems with the apps that you might require to run in the new operating system. If you upgraded your macOS to Sonoma Beta and you are running into these problems, this article is for you.
Can You Downgrade From macOS Sonoma Beta to macOS Ventura?
Yes, you can downgrade from macOS Sonoma Beta to a stable version of macOS Ventura. However, you will not be able to access the new features of macOS Sonoma like widgets on the desktop.
You might also lose data, so before you downgrade make sure to back up your data to an external hard drive or cloud services.
You can also manually back up the most important files by copying and pasting them into an external drive or uploading them to the cloud. This way, you’re sure that none of the important data is lost during the process.
How to downgrade from macOS Sonoma beta to macOS Ventura – A step-by-step guide.
In this section, you will learn how to downgrade your macOS. The good news is, you can still apply these steps when a stable version of macOS Sonoma releases and you want to downgrade. The process of downgrading is the same.
Here is a step-by-step guide on how to downgrade macOS Sonoma:
- Make sure you have a backup on the cloud or external hard drive.
- Restart your Mac.
- Press and hold the power button if you have a Mac with Apple Silicon.
- Press and hold the Command + R button if you have intel Mac.
- Select the settings option.
- Select the disc utility option.

- Select Macintosh HD.

- Select erase.

- Select erase from the pop-up menu.

- Confirm erase.

- Your Mac will restart after erasing.
- Your Mac will enter recovery mode. Connect your Mac to wifi/internet.
- Select the Reinstall macOS Ventura option.

- Select Continue and then agree to the terms & conditions.
- Select the Macintosh HD disc.
- macOS Ventura will download and install on your Mac.
Final Words
We hope that this article has helped you with downgrading your macOS Sonoma beta to macOS Ventura.
To sum up, you can downgrade your macOS by restarting and pressing and holding the power buttons in Macs with Apple Silicon.
For Macs with Intel processors, you can press and hold Command + R while restarting to downgrade.
Related Reads:
FAQs
Press and hold the power button while restarting Apple Silicon Macs. For Intel Silicon Macs, press and hold the command + r button while restarting. Follow this article for more.
macOS Ventura will work on 2017 Macs and later.